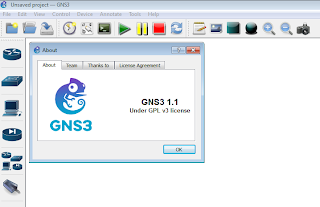
1. GNS3 Version 1.1’s Preferences
2. QEMU VMs, click “New”
3. Pick the name and just use Default for Type
4. Change RAM to 1024MB (I didn’t try other amount of RAM I also tried it with 256MB, it seems to boot just fine) [Note: Running it on QEMU seems to boot slower than running it on VirtualBox.]
5. Browse to the “Disk image (had)”
6. Click Edit to change the amount of interface from 1 to 6
7. It is ready to be used.
7.1. Click on Browse all device
7.2. Start the JUNOS device
Wait for 5 minutes. (The boot process takes a long time, be patient, while waiting please smile at the “BTX loader 1.00” screen)
7.3. Login and use
Once the long waiting time is over, you will get to this screen.
User: root
Root> cli
Root> show version
…
…


No comments:
Post a Comment